
기어가더라도 제대로
[UIKit-기초] Builder 패턴 사용해보기 본문
개요
빌더 패턴으로 사용될 때마다 옵션이 다른 Custom Alert 객체를 생성하기
- 빌더 패턴(Builder pattern)?: 빌더는 복잡한 객체들을 단계별로 생성할 수 있도록 하는 생성 디자인 패턴
- 같은 제작 코드를 사용하여 객체의 다양한 유형들과 표현을 제작
준비물
- SnapKit: Auto layout을 간편하게 하기 위해 사용
- Then: UI 선언을 단순화 하기 위해 사용
- UIColor+extension: rgb hex 값으로 컬러 생성하기 위해 선언
커스텀 Alert를 만들기
- 두가지 뷰컨트롤러가 필요
- 하나는 Alert의 모체가 되는 Base ViewController
- Custom View Controller: 실질적으로 올라가는 alert 화면, custom 한 UI 요소를 적용
AlertBuilder 만들기
- 액션 구조체 만들기
- 메시지와 액션을 포함
struct AddAction {
    var text: String?
    var action: (() -> Void)?
}
- Alert Builder 구성
- base를 기반으로 alert을 present 하는 구조
- 타이틀, 메시지, 왼쪽 버튼 액션, 오른쪽 버튼 액션으로 구성
final class AlertBuilder {
    private let baseViewController: UIViewController
    private let alertViewController = CustomAlertViewController()

    private var alertTitle: String?
    private var message: String?
    private var addLeftAction: AddAction?
    private var addRightAction: AddAction?

      init(viewController: UIViewController) {
          baseViewController = viewController
    }
- 각 액션을 조합하는 함수 선언
- 추가로 조합이 될 수도 있기 때문에 자기 자신을 반환해야함
    func setTitle(_ text: String) -> AlertBuilder {
        alertTitle = text
        return self
    }

    func setMessage(_ text: String) -> AlertBuilder {
        message = text
        return self
    }

    func addLeftAction(_ text: String, action: (() -> Void)? = nil) -> AlertBuilder {
        addLeftAction = AddAction(text: text, action: action)
        return self
    }

    func addRightAction(_ text: String, action: (() -> Void)? = nil) -> AlertBuilder {
        addRightAction = AddAction(text: text, action: action)
        return self
}- show 함수로 빌더 자체를 present
- @discardableResult: 반환하는 인스턴스를 저장하지 않아도 되도록 하는 property wrapper
- modal style: 전체화면, 스윽 등장
    @discardableResult
    func show() -> Self {
        alertViewController.modalPresentationStyle = .overFullScreen
        alertViewController.modalTransitionStyle = .crossDissolve

        alertViewController.alertTitle = alertTitle
        alertViewController.message = message
        alertViewController.leftAction = addLeftAction
        alertViewController.rightAction = addRightAction

        baseViewController.present(alertViewController, animated: true)
        return self
    }
Alert View Controller 제작
이건 다른 뷰컨트롤러와 크게 다를 건 없음, 원하는 Alert 화면을 그려주면 OK
- 선언하고 UI 표시, title, message, left, right button이 옵셔널로 선언
final class CustomAlertViewController: UIViewController {
    var alertTitle: String?
    var message: String?
    var leftAction: AddAction?
    var rightAction: AddAction?

    private let alertView = UIView().then {
        $0.layer.cornerRadius = 7.0
        $0.backgroundColor = .secondarySystemBackground
    }

    private lazy var titleLabel = UILabel().then {
        $0.font = UIFont.init(name: "Roboto-Bold", size: 18)
        $0.textAlignment = .center
        $0.text = self.alertTitle
    }

    private lazy var messageLabel = UILabel().then {
        $0.font = UIFont.init(name: "Roboto-Regular", size: 13)
        $0.textAlignment = .center
        $0.text = self.message
        $0.numberOfLines = 0
    }

    private lazy var leftButton = UIButton().then {
        $0.setTitleColor(UIColor(rgb: 0xFF6600), for: .normal)
        $0.titleLabel?.font = UIFont.init(name: "Roboto-Bold", size: 14)
        $0.setTitle(leftAction?.text, for: .normal)
        $0.backgroundColor = UIColor.init(rgb: 0xFFEBDD)
        $0.layer.cornerRadius = 5.0
        $0.layer.cornerCurve = .continuous
        $0.contentEdgeInsets = UIEdgeInsets(top: 14, left: 0, bottom: 15, right: 0)
        $0.clipsToBounds = true
        $0.addTarget(self, action:#selector(leftButtonTapped), for: .touchUpInside)
    }

    private lazy var rightButton = UIButton().then {
        $0.setTitleColor(.white, for: .normal)
        $0.titleLabel?.font = UIFont.init(name: "Roboto-Bold", size: 14)
        $0.setTitle(rightAction?.text, for: .normal)
        $0.backgroundColor = UIColor.init(rgb: 0xFF6600)
        $0.layer.cornerRadius = 5.0
        $0.layer.cornerCurve = .continuous
        $0.contentEdgeInsets = UIEdgeInsets(top: 14, left: 0, bottom: 15, right: 0)
        $0.clipsToBounds = true
        $0.addTarget(self, action:#selector(rightButtonTapped), for: .touchUpInside)
    }

    private let buttonStackView = UIStackView().then {
        $0.axis = .horizontal
        $0.alignment = .center
        $0.distribution = .fillEqually
        $0.spacing = 8.0
    }

    override func viewDidLoad() {
        super.viewDidLoad()
        setupLayout()
    }

    private func setupLayout() {
        view.backgroundColor = .systemBackground.withAlphaComponent(0.52)

        view.addSubview(alertView)

        [leftButton, rightButton].forEach {
            buttonStackView.addArrangedSubview($0)
        }

        [titleLabel, messageLabel, buttonStackView].forEach {
            alertView.addSubview($0)
        }

        alertView.snp.makeConstraints { make in
            make.horizontalEdges.equalToSuperview().inset(16)
            make.top.equalToSuperview().offset(281)
        }

        titleLabel.snp.makeConstraints { make in
            make.top.equalTo(alertView.snp.top).offset(36)
            make.centerX.equalToSuperview()
        }

        messageLabel.snp.makeConstraints { make in
            make.top.equalTo(titleLabel.snp.bottom).offset(12)
            make.horizontalEdges.equalToSuperview().inset(28)
        }

        buttonStackView.snp.makeConstraints { make in
            make.top.equalTo(messageLabel.snp.bottom).offset(20)
            make.horizontalEdges.equalToSuperview().inset(20)
            make.bottom.equalToSuperview().inset(20)
        }
}- 버튼을 액션과 연결
    @objc func leftButtonTapped() {
        leftAction?.action?()
        dismiss(animated: true)
    }

    @objc func rightButtonTapped() {
        rightAction?.action?()
        dismiss(animated: true)
    }
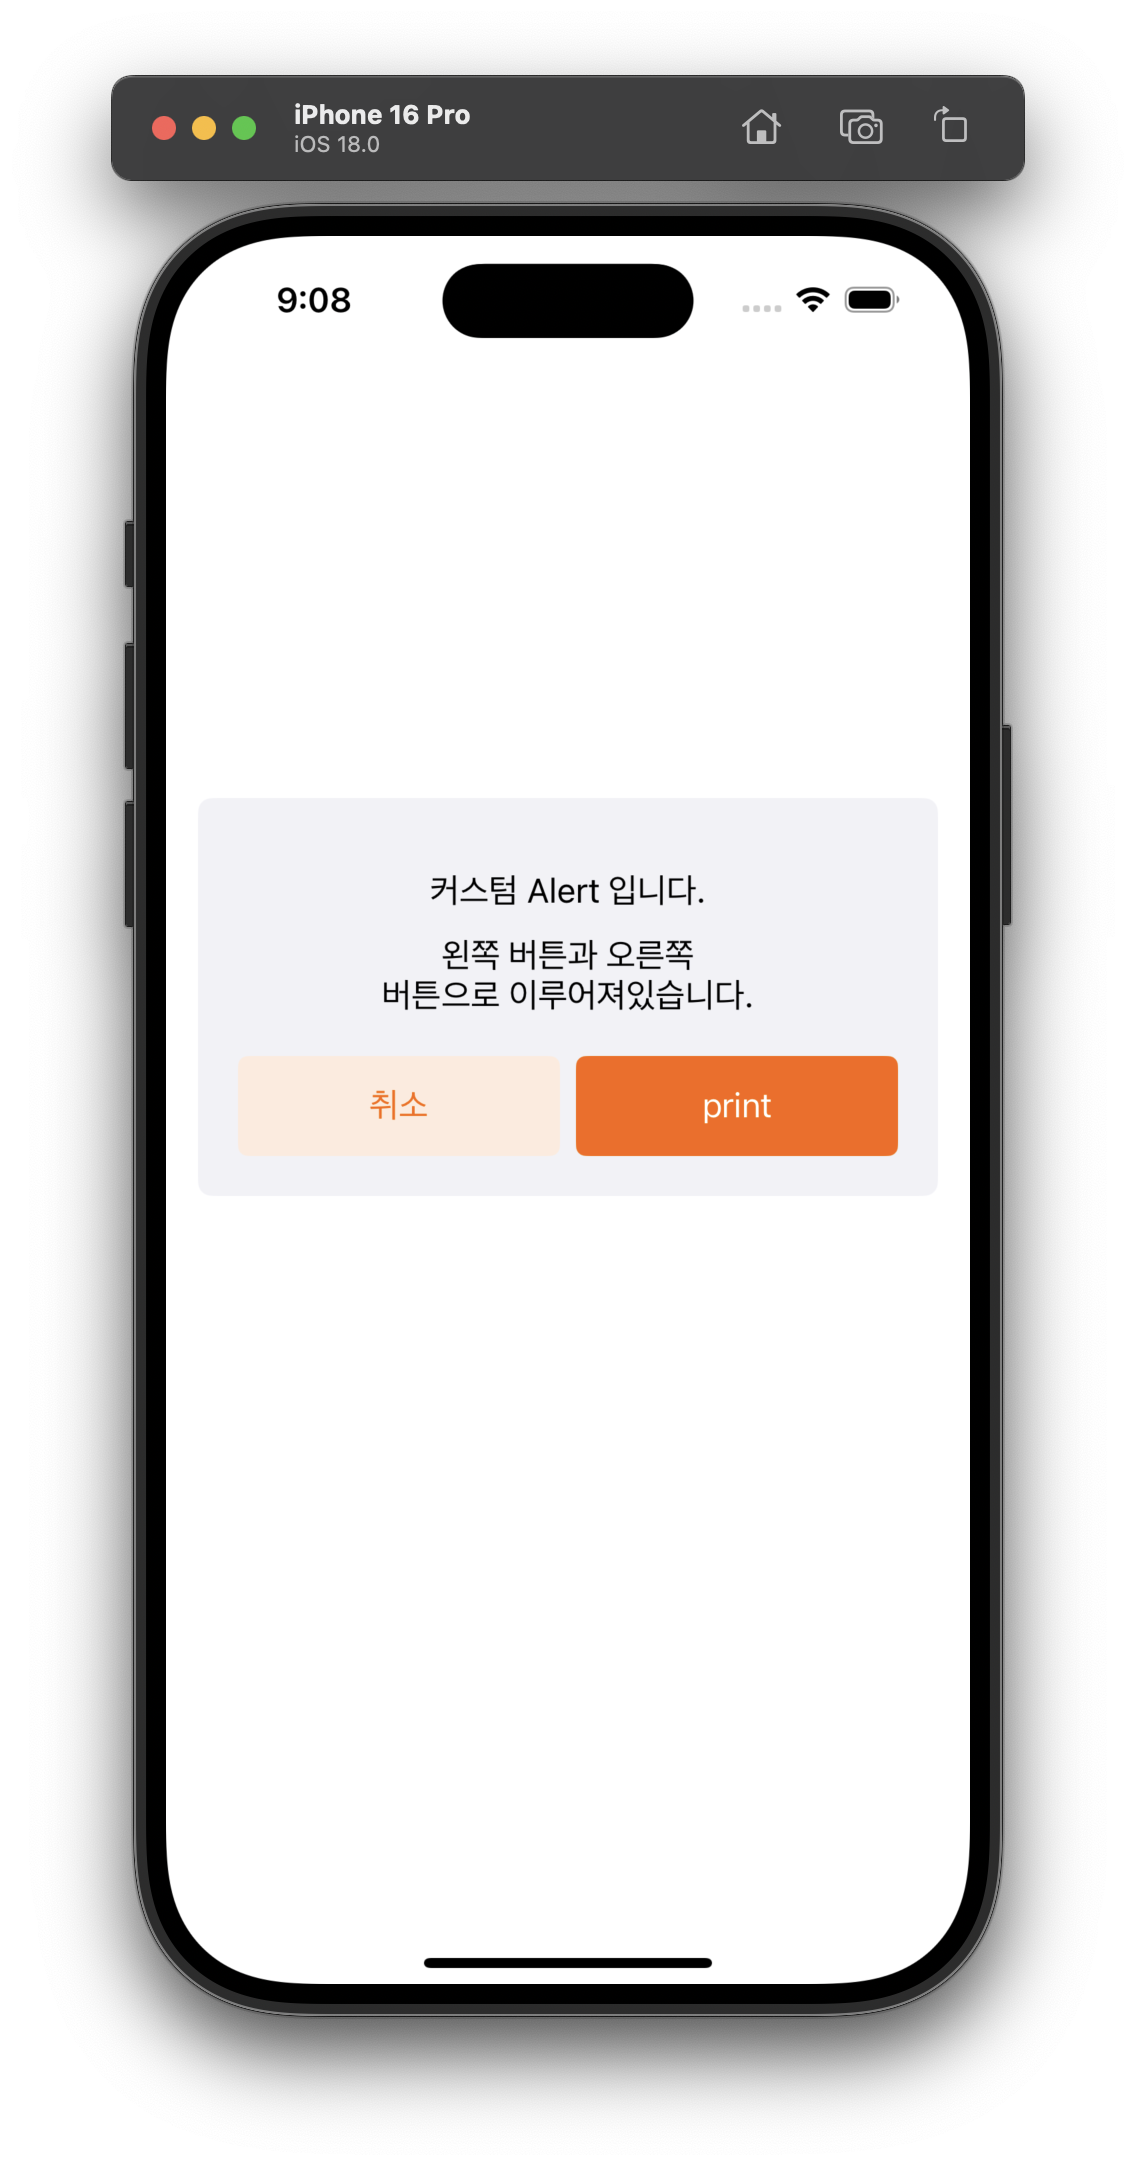
사용 예시
AlertBuilder(viewController: self)
    .setTitle("커스텀 Alert 입니다.")
    .setMessage("왼쪽 버튼과 오른쪽 버튼으로 이루어져있습니다.")
    .addLeftAction("취소")
    .addRightAction("print") {
        print("Alert Action 내부")
    }
    .show()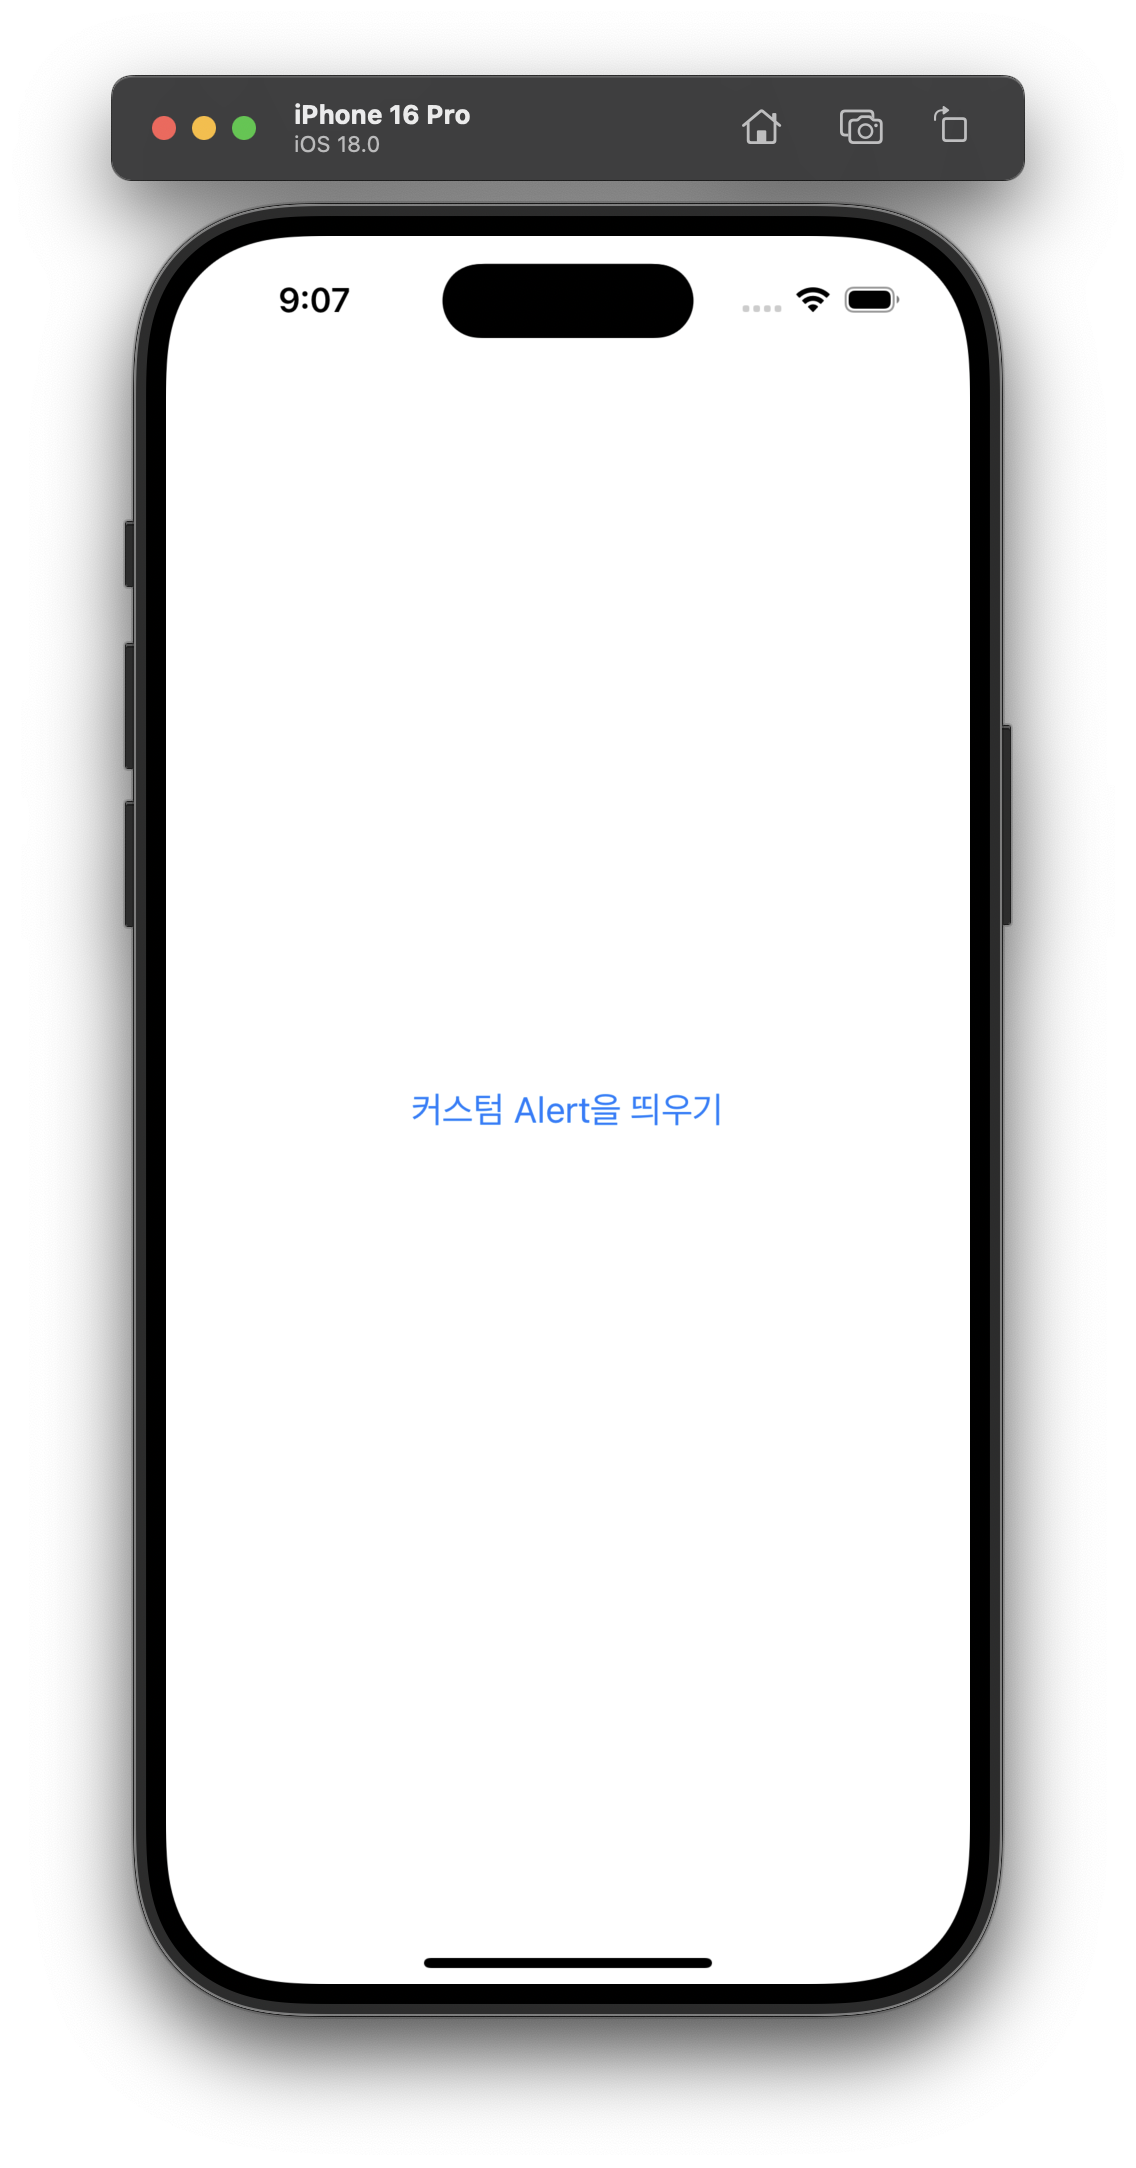
전체 코드
'UIKit 기초' 카테고리의 다른 글
'UIKit 기초' Related Articles
more


Comments